The Honeywell Home Pro Series offers a smart‚ efficient solution for temperature control‚ designed for easy installation and seamless smart home integration. This guide provides a detailed walkthrough to ensure proper setup and functionality of your Honeywell Pro Series thermostat‚ covering essential steps‚ tools‚ and best practices for a successful installation.
Overview of the Honeywell Home Pro Series Thermostats
The Honeywell Home Pro Series thermostats are designed for smart home integration‚ offering advanced temperature control and energy efficiency. These thermostats feature programmable scheduling‚ geofencing‚ and voice control compatibility. They are part of a comprehensive system that includes the UWP Mounting System‚ decorative cover plates‚ and adapters for seamless installation. The series supports various heating and cooling systems‚ ensuring compatibility with most home setups. With a user-friendly interface and remote access via the Honeywell Home app‚ these thermostats provide convenience and precise temperature management. They are ideal for homeowners seeking a modern‚ reliable‚ and energy-saving solution.
Importance of Proper Installation
Proper installation of the Honeywell Home Pro Series thermostat is crucial for optimal performance‚ efficiency‚ and safety. Incorrect installation can lead to malfunction‚ reduced energy efficiency‚ or even system damage. Ensuring the thermostat is correctly mounted and wired guarantees accurate temperature control and smart features functionality. Follow the manual’s guidelines to avoid issues like inconsistent heating or cooling. Proper installation also extends the system’s lifespan and ensures compliance with safety standards. Use the provided UWP Mounting System and adapters to secure the thermostat correctly. Refer to the installation manual for detailed steps to achieve a seamless and reliable setup.
Pre-Installation Requirements
Before installing the Honeywell Home Pro Series‚ ensure system compatibility and gather necessary tools like a drill‚ level‚ and screwdrivers. Verify wiring and power requirements to proceed smoothly.
System Compatibility Check
Before proceeding with the installation‚ it is essential to perform a system compatibility check to ensure the Honeywell Home Pro Series thermostat works seamlessly with your existing HVAC setup. Verify that your system type‚ such as heat-only‚ cool-only‚ or heat pump‚ is supported by the thermostat model you are installing. Check the wiring configuration to match the terminal connections required by the Honeywell Pro Series. For instance‚ the T6 Pro Thermostat is designed to be compatible with most standard HVAC systems‚ but confirming compatibility prevents potential installation issues. If unsure‚ consult the user manual or manufacturer’s guidelines for specific model requirements.
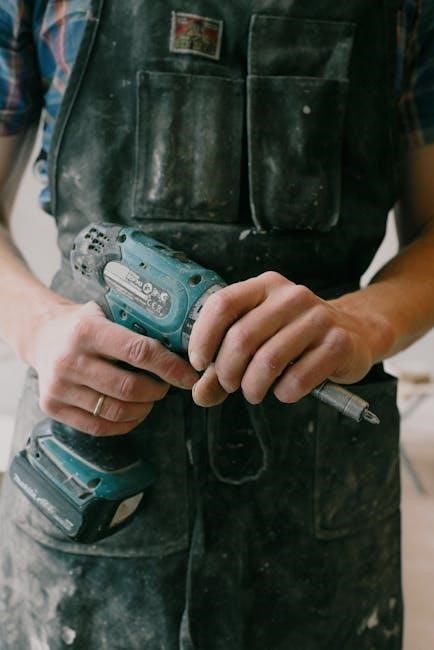
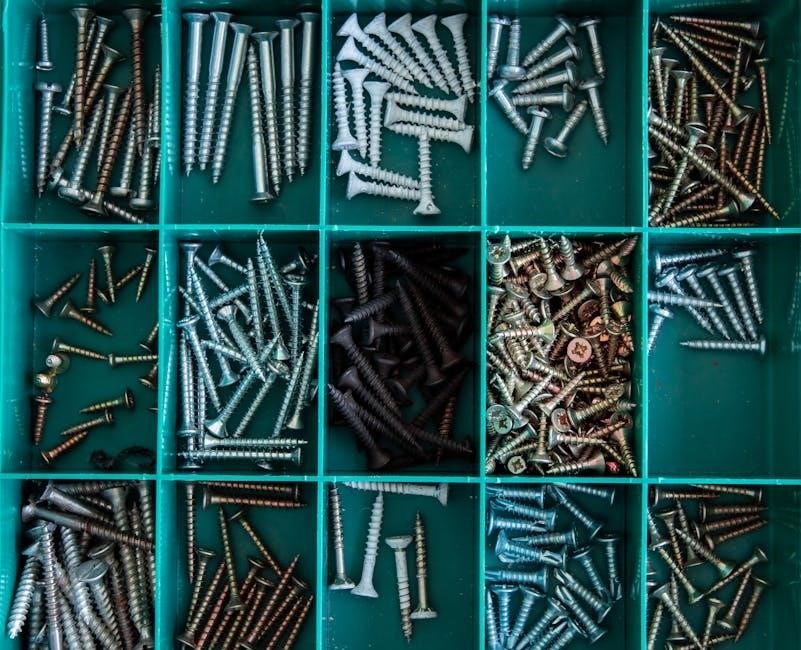
Gathering Necessary Tools and Materials
To ensure a smooth installation of your Honeywell Home Pro Series thermostat‚ gather all required tools and materials beforehand. You will need a drill‚ wall anchors‚ screws‚ and a level to mount the UWP system. Additionally‚ collect the thermostat unit‚ decorative cover plate‚ and Honeywell Standard Installation Adapter (J-box adapter). Ensure you have the correct wires for your system‚ as specified in the manual. Tools like a screwdriver‚ pliers‚ and wire strippers may also be necessary. Refer to the installation manual for specific requirements‚ such as the UWP mounting system and any additional components included in your package. Organizing these items beforehand will streamline the process.
Installation Process
The Honeywell Home Pro Series installation involves mounting the UWP system‚ securing the thermostat unit‚ and connecting wires. Follow the manual for a precise setup.
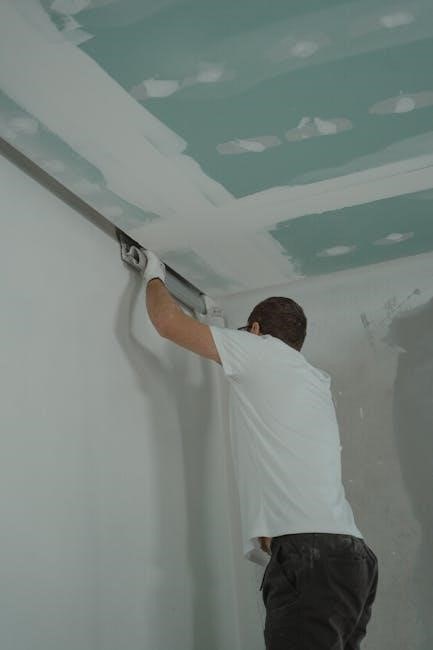
Mounting the UWP System
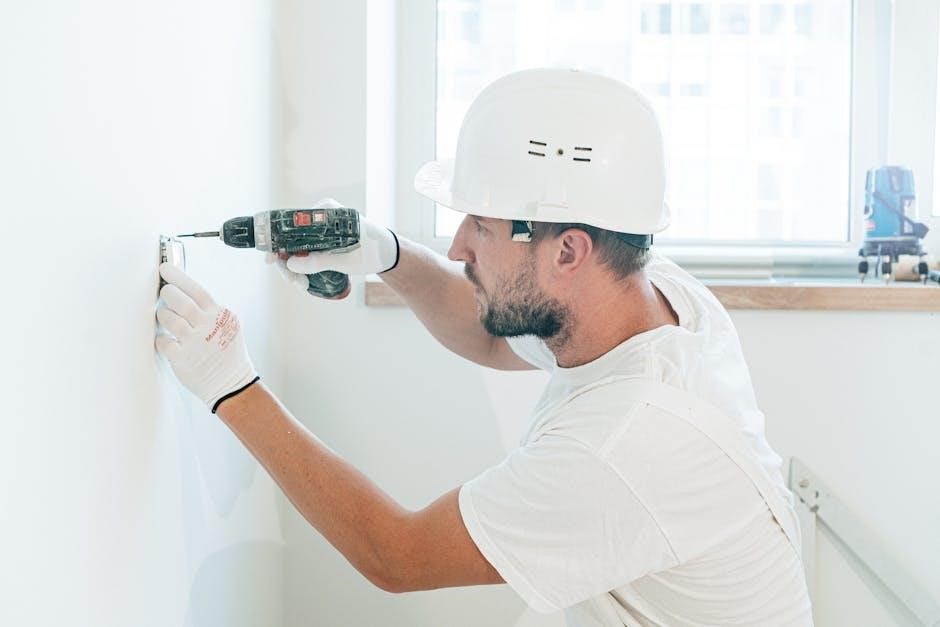
Mounting the UWP system is the first step in installing the Honeywell Home Pro Series thermostat. Begin by opening the package and locating the UWP mounting hardware. Position the UWP on the wall‚ ensuring it is level‚ and mark the hole positions according to the manufacturer’s guidelines. Drill pilot holes at these marks and gently tap the provided wall anchors into place using a hammer. For drywall‚ use the 7/32″ drill bit if red anchors are included. Once the anchors are secure‚ attach the UWP system to the wall. Ensure the system is firmly fastened to support the thermostat unit properly. Follow the manual’s instructions for precise alignment and tightening to complete the mounting process successfully.
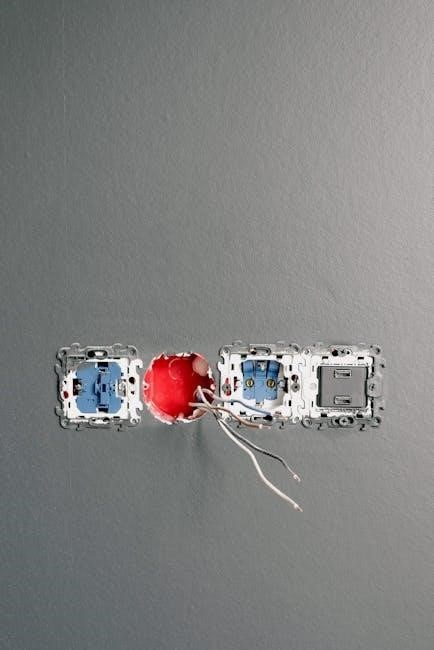
Connecting Wires to the Thermostat
Once the UWP system is mounted‚ carefully connect the wires to the thermostat. Ensure the power supply is turned off at the breaker or switch before proceeding. Identify the wires according to their labels (e.g.‚ R‚ W‚ Y‚ G‚ C) and match them to the corresponding terminals on the thermostat. Use the terminal tabs to secure the wires firmly in place. Avoid crossing or pinching wires during the connection process. Double-check the wiring configuration to ensure it matches the system’s compatibility requirements. If unsure‚ refer to the installation manual or consult a licensed professional for assistance. Proper wiring ensures safe and reliable thermostat operation.
Installing the Thermostat Unit
After mounting the UWP system and connecting the wires‚ carefully install the thermostat unit. Gently pull the thermostat away from the backplate to access the battery compartment. Insert two AA alkaline batteries‚ ensuring they are securely placed to provide power. Align the thermostat with the UWP mounting system‚ ensuring it clicks into place firmly. Tighten the screws on the backplate to secure the thermostat unit. Once installed‚ turn the power supply back on at the breaker or switch. Test the thermostat’s functionality by navigating through the menu and ensuring all features respond correctly. Proper installation ensures reliable performance and smart home integration capabilities.

Configuration and Setup
Configure basic options such as date‚ time‚ and temperature settings. Use the Resideo Pro app for advanced features like scheduling and smart home integration.
Setting Up Basic Thermostat Options
Start by accessing the menu from the home screen. Press Menu to navigate to settings like date‚ time‚ and temperature preferences. Adjust these using the arrow keys‚ then press Select to confirm. Set your desired temperature range for both heating and cooling modes. For scheduling‚ create a daily plan by selecting specific times and temperatures. Use the Resideo Pro app to synchronize these settings remotely. Ensure all basic options are configured correctly for optimal performance and energy efficiency. Proper setup ensures seamless functionality and aligns with your smart home system.
Configuring Advanced Features
Access advanced settings by navigating to the Menu and selecting Advanced. Enable features like geofencing for location-based temperature adjustments or smart recovery to optimize heating/cooling cycles. Use the Resideo Pro app to configure remote access and energy-saving modes. Set custom thresholds for humidity and temperature to enhance comfort. Ensure your system is connected to Wi-Fi for smart home integration. Adjust these settings carefully to maximize efficiency and tailored performance‚ ensuring your Honeywell Pro Series thermostat operates at its full potential while integrating seamlessly with your smart home ecosystem.
Powering and Testing
After installation‚ turn on the power supply at the breaker box. Test thermostat functionality by checking temperature adjustments and system responses to ensure proper operation and connectivity.
Turning On the Power Supply
To power your Honeywell Home Pro Series thermostat‚ locate the circuit breaker or switch controlling your HVAC system. Ensure it is turned on to restore power. Verify the thermostat’s screen lights up and functions correctly. If using a battery-powered model‚ insert fresh AA alkaline batteries as specified in the manual. For hardwired systems‚ double-check all connections to avoid issues. Once powered‚ the thermostat will initialize‚ allowing you to set temperatures and configure settings. Always refer to the user manual for specific power requirements and safety guidelines to ensure optimal performance and avoid electrical hazards.
Testing the Thermostat Functionality
After installation‚ ensure the thermostat is powered on and functioning correctly. Test heating‚ cooling‚ and fan modes by adjusting the temperature settings. Verify the system responds by activating the HVAC components accordingly. Check for proper screen responsiveness and ensure all buttons and features work as intended. If issues arise‚ refer to the troubleshooting section in the manual or consult the Honeywell Home app for guidance. This step ensures your thermostat is fully operational and ready for daily use‚ providing reliable temperature control for your home.

Maintenance and Troubleshooting
Regularly clean the thermostat and ensure proper battery replacement. Refer to the manual for troubleshooting common issues like display malfunctions or system connectivity problems. Adjust settings as needed for optimal performance.
Regular Maintenance Tips
Regular maintenance ensures optimal performance of your Honeywell Home Pro Series thermostat. Clean the device with a soft cloth to remove dust and debris. Replace AA batteries annually or when the low-battery indicator appears. Check and tighten all wire connections to prevent issues. Update the thermostat software periodically for improved functionality. Ensure proper airflow by keeping vents clear and inspecting filters. Refer to the manual for specific troubleshooting guides if problems arise‚ such as display malfunctions or connectivity issues. Schedule annual professional inspections for complex systems to maintain efficiency and reliability.
Common Issues and Solutions
Common issues with Honeywell Home Pro Series thermostats include blank screens‚ unresponsive controls‚ and connection problems. To resolve a blank screen‚ ensure power is on and batteries are fresh. For unresponsive controls‚ restart the thermostat by removing and reinstalling batteries. Connectivity issues may require resetting the device or checking Wi-Fi settings. If the thermostat fails to regulate temperature‚ verify wiring connections and system compatibility. Refer to the manual for detailed troubleshooting steps or contact customer support for advanced assistance. Regular updates and proper installation can prevent many of these issues‚ ensuring smooth operation and reliable performance.
Thank you for following the Honeywell Home Pro Series installation guide. Proper installation ensures optimal performance. Regular maintenance and updates will keep your system running smoothly. For further assistance‚ refer to the official manual or contact Honeywell support.
Final Check and Verification
After completing the installation‚ perform a final check to ensure all components are securely fastened and properly connected. Verify that the thermostat is level and the UWP mounting system is firmly attached to the wall. Check all wire connections for accuracy and tightness. Turn on the power supply and test the thermostat’s basic functionality‚ such as switching between heating and cooling modes. Ensure the device displays the correct temperature and responds to adjustments. Review the manual for any specific verification steps. If issues arise‚ refer to the troubleshooting section or contact Honeywell support. Regular software updates will keep your system optimized.
Resources for Further Assistance
For additional support‚ refer to the Honeywell Home Pro Series installation manual or visit the official Honeywell website. The Honeywell Home app offers guided setup and troubleshooting features. You can also access video tutorials and FAQs on the Resideo website. Contact Honeywell customer support at 1-800-633-3991 for personalized assistance. Visit https://www.honeywellhome.com/ for comprehensive resources‚ including user manuals‚ installation guides‚ and software updates. For advanced configurations‚ download the Resideo Pro app for professional tools and settings. Regularly check for firmware updates to ensure optimal performance and security.
